Starlink aspen Ridge is a beautiful and remote location in the woods, and for those who call it home, reliable internet connectivity has been a challenge. Until just before the COVID-19 pandemic, there were limited options available. However, with the arrival of Starlink, the residents of Aspen Ridge finally have access to high-speed satellite internet. This article provides a step-by-step guide on unboxing, setting up, how to install starlink
Unboxing Starlink
We opted for the Standard Kit, which was on sale for $299. We chose to purchase it from Home Depot due to the benefits of free shipping and a generous 90-day return policy—a better deal than the 30-day return window offered directly by Starlink. While the Mini version was available, the Standard Kit was significantly cheaper, making it a cost-effective choice.
The Starlink Standard Kit includes:
- A pre-assembled dish with a kickstand
- A third-generation router (no buttons, just input ports)
- A 15-meter (49-foot) cable connecting the dish to the router
- A power supply box with a permanently attached 1.5-meter (5-foot) cable
- An AC power cable (also 1.5 meters long)
The instructions provided are simple and mostly illustrations, making the setup process straightforward.
Setting Up Starlink
Step 1: Downloading the Starlink App
Before receiving the dish, we searched for the Starlink App in the App Store and found multiple results. To ensure we got the correct one, we used the QR code included in the instruction manual, which led directly to the official app.
Step 2: Connecting the Cables
- Remove the protective caps from the long cable.
- Firmly connect one end to the dish and the other to the router.
- Plug the power supply cable into the power supply box.
- Connect the power supply box to the router.
- Plug the AC power cable into a wall outlet or a portable power station.
For our setup, we used the Bluetti AC2A Portable Power Station, which provides 300 watts of AC output—more than enough to power Starlink.
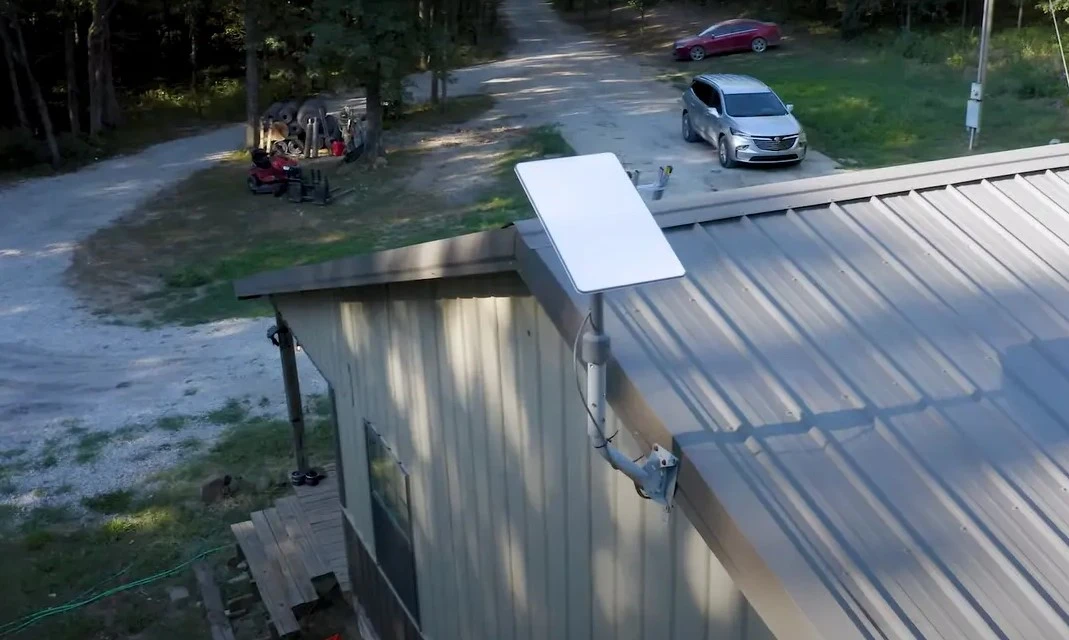
Step 3: Positioning the Dish
Since Aspen Ridge is heavily forested, we had concerns about obstructions. We set up the dish in the middle of the driveway, where there was the clearest view of the sky. Instead of using a permanent mount, we relied on the included kickstand for flexibility.
Starlink claims that the dish operates efficiently between -22°F to 122°F and withstands winds over 60 mph, making it durable in various weather conditions.
Activating Starlink and Testing the Connection
- Open the Starlink App.
- Select Standard Kit and confirm.
- When prompted, connect your phone to the Starlink Wi-Fi network.
- Allow Starlink to search for satellites (this may take a few minutes).
- If prompted, reposition the dish for the best possible signal.
- Once connected, set up a Wi-Fi network name and password.
- Complete account setup on the Starlink website, selecting a service plan.
- Enter payment details and finalize activation.
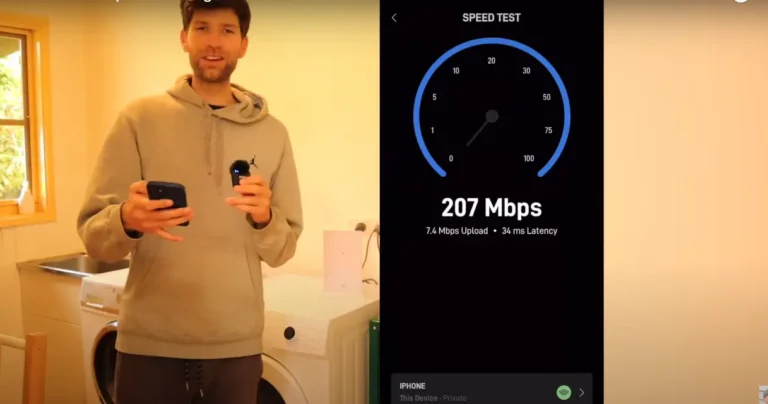
After activation, we conducted a speed test. The connection reached speeds in the mid-120 Mbps range, occasionally exceeding 130 Mbps—a fantastic result considering our remote location.
Final Adjustments and Subscription Management
The Starlink app provides useful features, including:
- Obstruction Monitoring: The app takes about an hour to analyze obstructions, showing an overview of areas that might cause connectivity issues.
- Network Management: Allows users to monitor connected devices and troubleshoot connectivity.
- Data Usage Tracking: We opted for the $50 for 50 GB Roam Plan, with an option to pause service when not in use.
Starlink also provides an optional overage toggle, allowing users to continue internet use beyond their plan limit at $1 per additional GB. We chose to keep this feature off to prevent unexpected charges.
Conclusion
The Starlink Standard Kit proved to be an excellent investment for Aspen Ridge, providing reliable high-speed internet in a remote forested area. The setup process was straightforward, and the speed test results exceeded expectations. Whether for work, travel, or general use, Starlink offers a much-needed solution for those in rural locations.